Fall weather

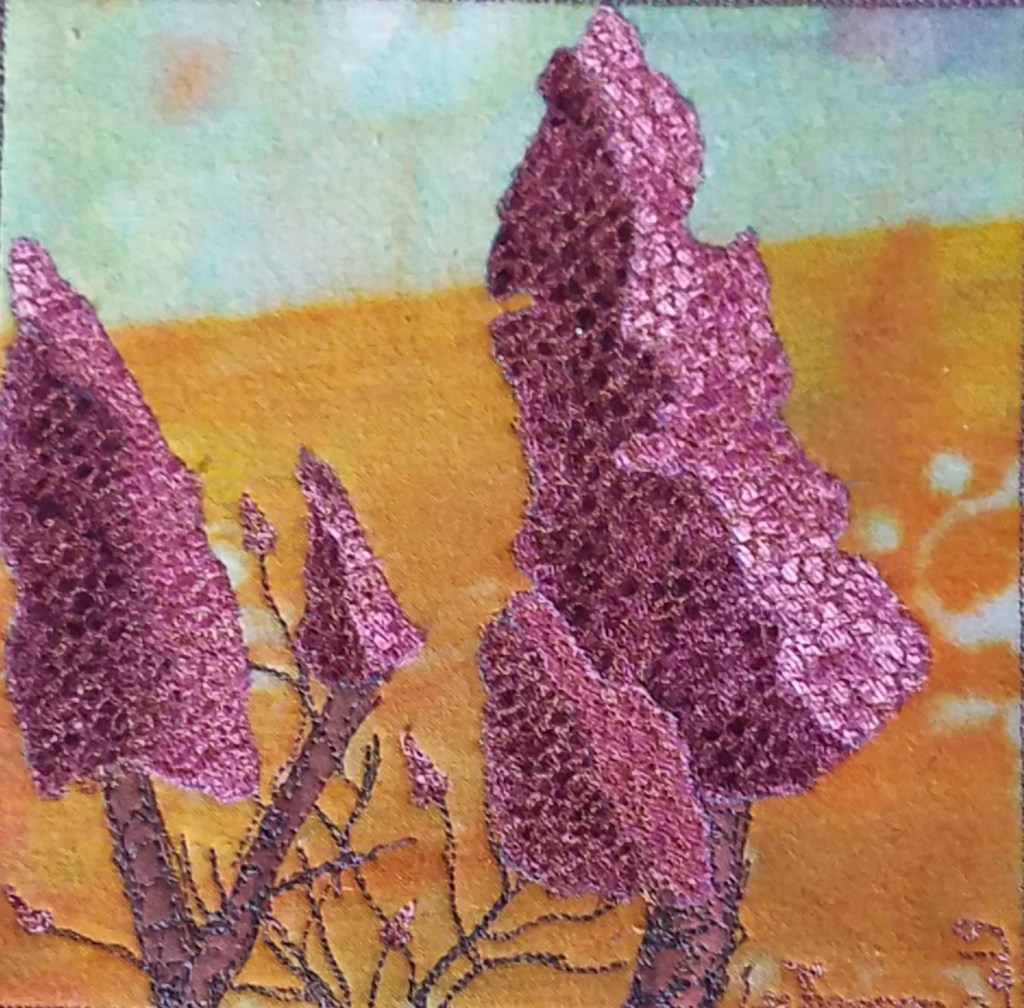
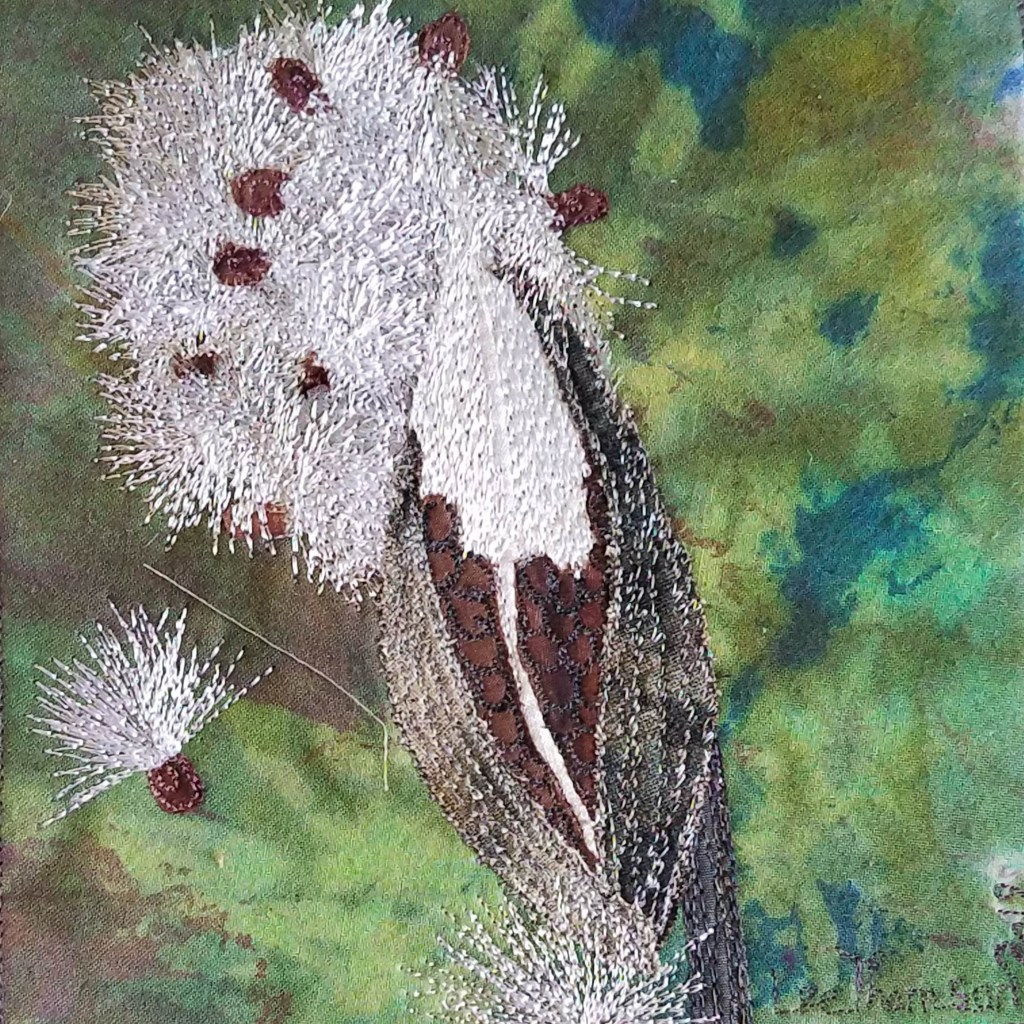
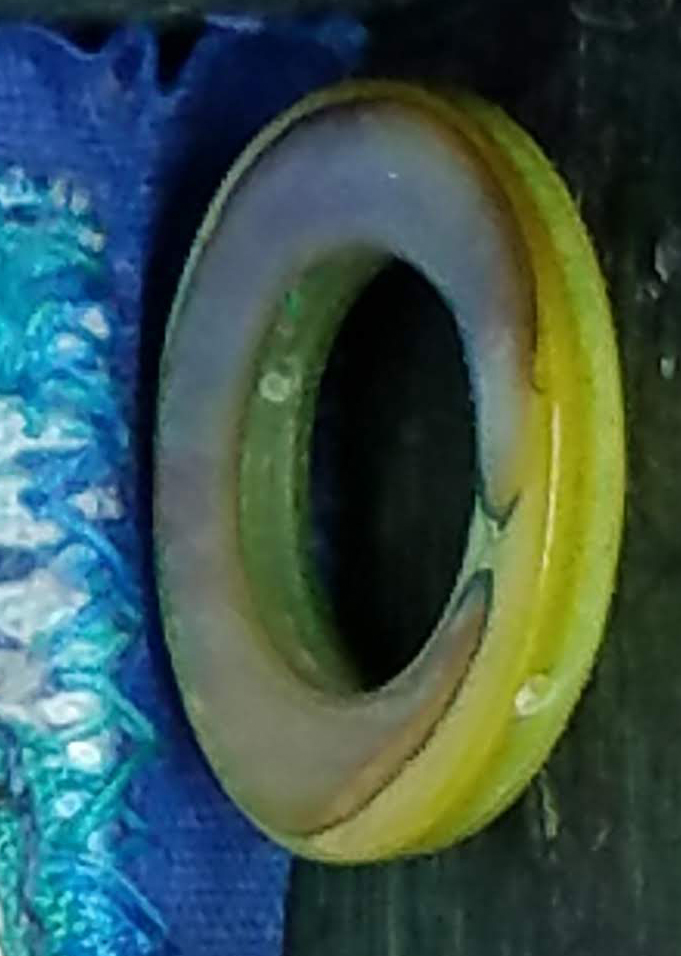
Monday I drove to Ipswich, taking three finished pieces for the Crane Estate art show and sale (Honestly, I am never sure what parts of that need capitalizing; too many and I feel like Pooh, not enough and I am closer to e.e.cummings). Two small works, one Milkweed and one Sumac, and the large shell button river.

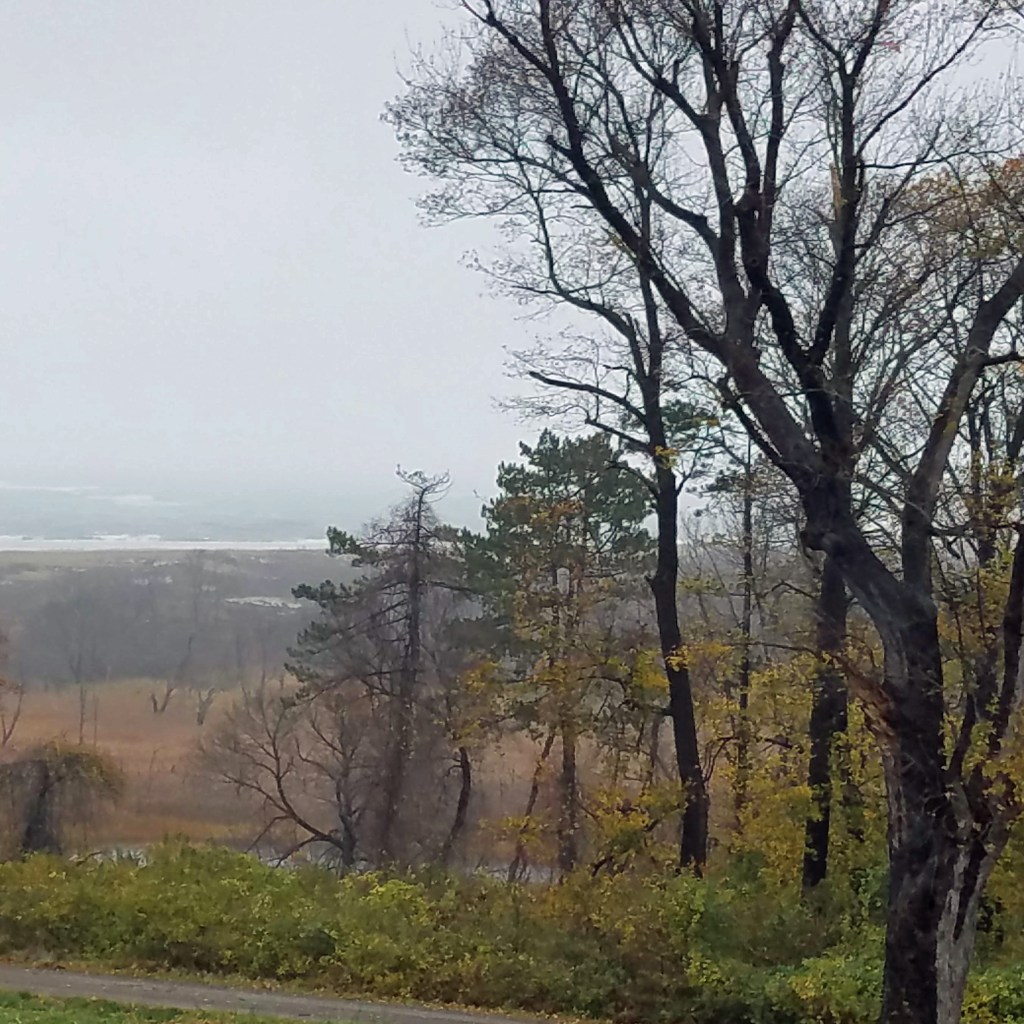
The weather was damp and drizzly all the way there and back, which served to show off what had to be peak foliage along the way. The weather on the coast was substantially more exciting, with a combination of new moon tides and north east winds throwing the ocean around. I walked briefly around the outside of the Crane house, and started home again.

I think my next projects are more small works focusing on the fall leaves, berries and flowers that hang on after the first frost.

Sumac three ways

Sometimes I get stuck on a particular topic. The staghorn sumac berries were speaking to me. I finished the first one, with two colors of velvet providing depth and one variegated thread defining the berries. But!! I was not done! The second piece used one solid color of velvet for the body of the subject, and I added three different variegated threads to shade the shape. The third one I used heavy perle cotton in the bobbin, and worked upside down, over brown velvet. I used two related colors of thread to give lighter and darker sides.

There’s a modern, painterly feel of the first one, and it surprises me how much I like it. The second one has some delicate shading in it, but the background is … busy. The third one feels most like my usual work.

What do you think?

headed to Crane Estate

Milkweed and staghorn sumac finished, framed and ready to travel. The first weekend in November is the Crane Estate Art Show and Sale, to benefit the Massachusetts Trustees of Reservations. There’s a fancy meet and greet Friday evening, (nice canapes) and then the entire thing is open to the public and free on Saturday and Sunday. I’ve been lucky to participate for several years now. Seeing what other artists bring is amazing, and seeing what people buy is educational.

I have these two small pieces (6×6″) for the small works section, and I’m bringing the shell button river for a large piece. I hope someone will want it!

Shell Button River

threads

Frequently when I am making a piece, I check the back of it. Many people who see the backs say they are almost as interesting as the fronts (which is a distinctly mixed compliment) and wish there was some way to display both sides of a piece. I am amused by this, because the back is not the art, it is the supporting structure; the backs are more like backstage in a theater where a lot of work goes on to make the front look effortless and tell the story I am trying to tell.

This doesn’t mean I am not delighted with all the visible thread on the back, and on the front. While normally I use fabric for areas of color and texture, and add detail with stitching, sometimes a scene seems to lend itself to line work. For this barn, I pulled out all the gray threads I have, from shiny white to matte black and the in-betweens. Possibly the most unexpected thread I used has alternating sections of white and black, with no in-between shades. The color variation is so short, at one inch, there is no way to control what color goes where, so the resulting shrubbery and grasses look sun-dappled and unexpectedly deep.

While I like many threads for many different reason, I have a particular affection for variegated threads. Varigated thread works twice as hard as regular thread. It carries extra colors into an area, bringing depth and interest. It blends fabric edges, making softer, smoother transitions. I have an entire set of plastic drawers filled with threads, and it is slowly being overtaken by all the different variegated threads I can find.

Three of my favorite threads are Superior, Valdani and Oliver Twist. They all do very different things. Superior’s King Tut is a lovely smooth cotton thread with short, one inch variations. I use this a lot for adding texture to larger areas, and blending pieces together. Valdani makes a wide range of thread sizes as well as color variations. I use the finer threads for increasing depth and interest – since the color changes are longer. They also make perle cotton in gorgeous variations, which I can use in the bobbin when I work from the back. Oliver Twists is a small shop that hand dyes sets of variegated threads in different weights. They are unbelievably lovely and I want ALL of them. They have more colors per strand than anything else I use. Because of the weight and interest (and cost) I use these for emphasis in visually important areas. Also I gaze at them pleasure.

Bench notes: using tiny frames

Frames, laser cut from 1/8″ birch plywood, in various shapes. A different interfacing interfacing – this has no fusible on it, so I will fuse the fabric with Wonder Under.

Cut the interfacing to the size and shape of the interior shape. It works better, ultimately, if the interfacing is juuust slightly smaller than the inner shape.

Interfacing gets fused to the fabric backgrounds.

The interfacing adds a nice layer of padding when the frames are attached, and also works to keep the embroidered image smooth.

I like one more layer of interest on these tiny things, so I add a bead (or several) by hand. Then the work is placed over the interior shape, and the outside frame pressed gently into place. If it isn’t going to fit with minimal persuasion, make certain the fabric is smooth around the edge between the inside shape and the frame. Once it is in place, run a bead of liquid super glue on the back around the place where the fabric comes through from the front. Liquid superglue is important, because it soaks into the fabric between the pieces of frame, and holds everything together. I have done it with the gel super glue but the results are not satisfactory. Cheap superglue works really well.

Once the super glue is hardened, trim off the leftover fabric using whatever is handy. If you can’t find a sharp blade, a brisk application of sandpaper also works.

And behold! tiny scraps of fabric, small amounts of embroidery and some loose beads turned into something magical.

dreamboxes! Still for sale…

I still have a few dreamboxes for sale. These are the things I make that are hardest to describe. They are perfect wooden boxes, filled with tiny evocative things that I have found, saved, collected or been given. Things that are interesting enough by themselves, but gain mystery? emphasis? when placed together into a small box. My friend Troy described them as dreamboxes and it has stuck.

If you don’t see one that speaks to you, I have made several with specific themes on request, mostly bees, but one with ravens But there are already two with small white bears – one with the north star, and one with an extra bear – you must know someone who needs one?

bench notes; how to make line work cut-able

One reason I wanted access to a lasercutter was to cut things that are fiddly and annoying to cut by hand, and even to cut multiples of them. Things like finely cut tree silhouettes, window muntins, and frames for things are easy to cut from a variety of materials, once you have the line work ready to cut. These things are easy enough to draw as simple line work, but is a process to turn the lines into a thing.

  • draw the thing in Inkscape, (a vector graphics program) in this case a tree, using lines of various weights
  • transform the stroke to path, giving you an outline of all the different lines you drew
  • from here, I create a single outline from all that mess, using a command called Union
  • The end result is an outline that goes around the outside of all the grouped line work. This can be used as a cutting line with the laser, or further manipulated (reversed, shrunk, enlarged, etc).

It works the same way for simpler shapes as well – below you can see a tree, a circle turned into small embroidery hoop, and a set of hexagons grouped into a honeycomb shape, already cut out.

fog

I use frequently use silk to represent water in my work. China silk makes a good sky, and dupioni and noil have a rougher texture that works well for ponds and streams. One of my favorites is silk organza; a stiff, translucent fabric that is easier to work with than other sheer fabrics. Organza is best to add depth and distance, as well as adding clouds, mist and fog.

The above pair of pictures are my attempt to make sense of layers of morning mist my friend Jen captured on her morning walk to her lake. I worked from the background of the picture forward, putting down each layer and stitching in details. On one piece, I left the organza loose, on the other piece I stuck it down with Misty Fuse, a very light fusible web that shows much less behind very sheer fabrics. The two pieces feel very different to me, and I’m not sure I like either of them.

One of my studio rules is: If you love something, do it again; also if you hate something, do it again. I didn’t love either one of these, but I do very much like particular details in each one. I think I have to make a third iteration, using both techniques, and see if I can catch the feeling I am aiming for. My thanks to Timna Tarr for her excellent performance as a rubber duckie* on Saturday.

*I am told, by people who program, that many engineers keep a rubber duckie to explain things to. Apparently describing the problem out loud, to a sympathetic audience, helps locate the problem. This works with someone who understands the problem, someone who does not at all understand the problem, or even an inanimate creature such as a rubber duckie.